Take the guesswork out of finding the right colour with PPG Pittsburgh Paint Colour Visualizer. Follow these simple steps and you’ll be ready to paint in no time! You can even upload photo’s of your own rooms and pick from over 2,000 glorious paint colours!
FEATURES
- Upload a photo and paint your own room
- Upload a photo and colour match to our closest hue
- Create and save colours and projects
- Explore our most popular colours
- Share your colours with friends
From the most traditional whites and creams to the boldest, brightest tones, PPG’s The Voice of Color® palette has colours for any project. Click any colour to find complementary colours, get a colour sample, and much more.
Step 1 – getting started
Desktop: Visit http://www.ppgpittsburghpaints.com/color/virtually-paint-a-room and click the link to ‘Virtually Paint a Room’

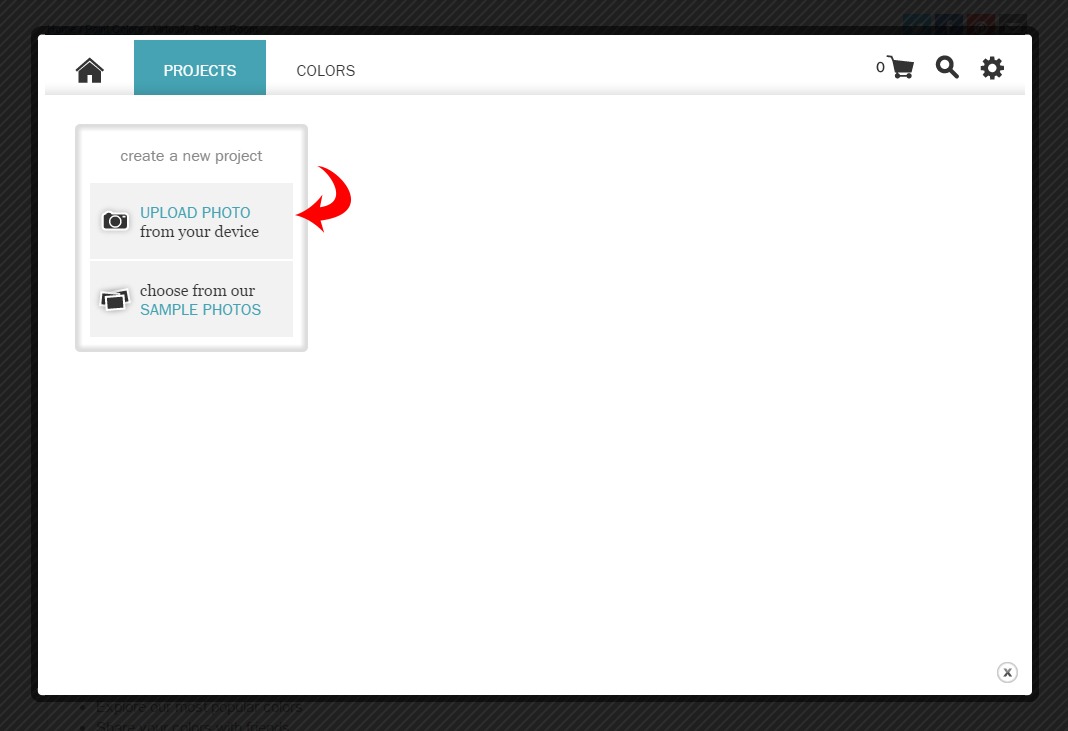
Step 2 – upload photos
Hit the ‘Projects’ tab and then upload a photo or photo’s of the room/s you’d like to paint.
Step 3 – save your work
Name this project and then save it by registering your email address. Once you’re registered, your projects will be saved, so if you’re not 100% sure you’ve picked the right colours, you can sleep on it and refine your choices at a later date.
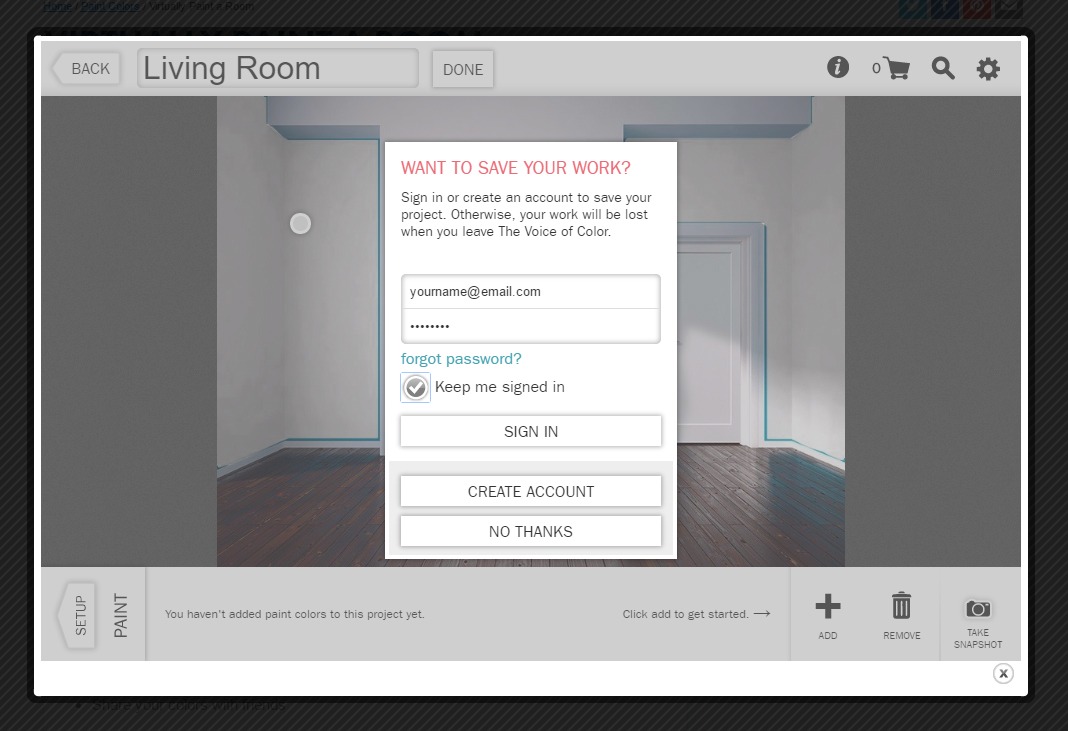
Registering your email will allow you to save your projects to work on at a later date – or reference when you forget what colour you used!
Step 4 – map surfaces
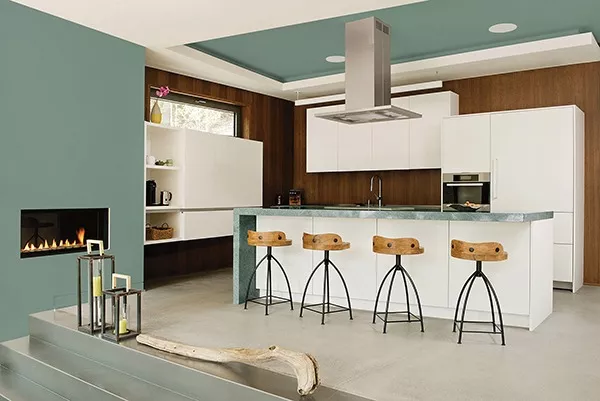
Map (click on) the surfaces you’d like to paint. You can add multiple (numbered) surfaces by clicking the ‘+’ icon. Each numbered surface corresponds to a different surface area or colour that you’ll be painting. Mask the surfaces you’d like to keep the same. A good tip here is to select areas of each surface that have light cast on them, which will ensure that the software doesn’t recognise this as a different colour/surface to be painted. For example – without the 2 tags at the bottom right of the turquoise wall in the image below – the software will not pick these up along with the darker shades.
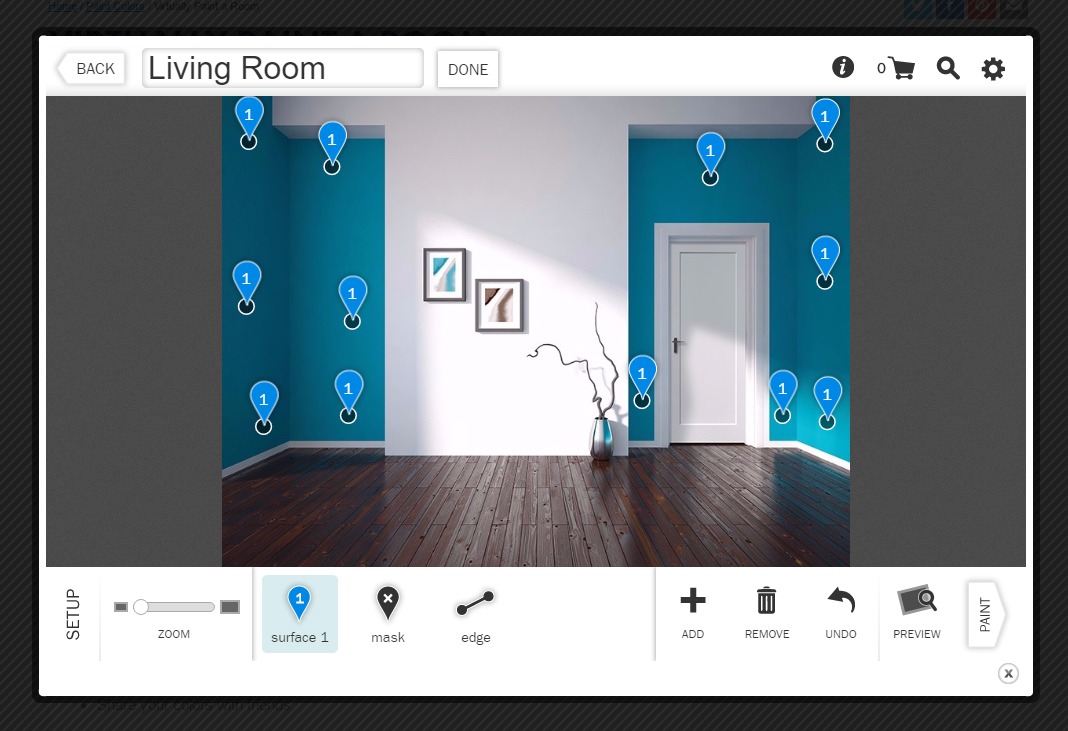
When you’re done tagging surfaces – click the ‘PAINT’ arrow (bottom right of image)
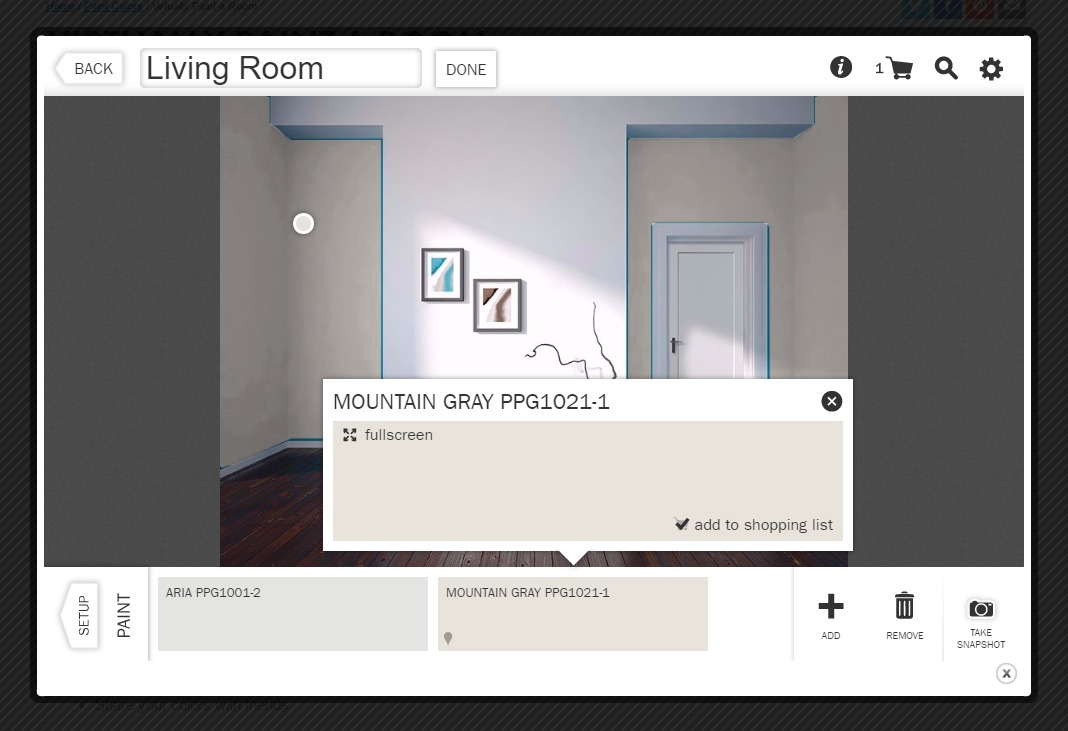
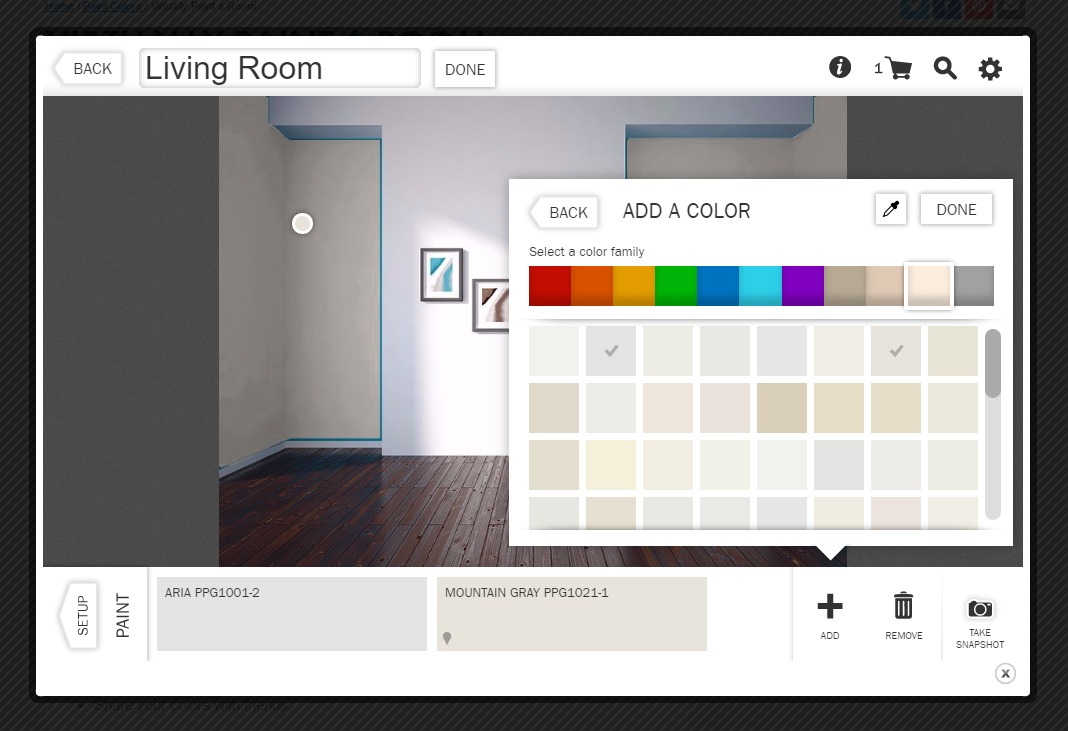
Step 5 – choose colours
This is where the fun begins! Click the ‘Add’ (+) icon to browse for colours you like. Once you’ve chosen a few, you can start visualizing how each of them might look in your room.
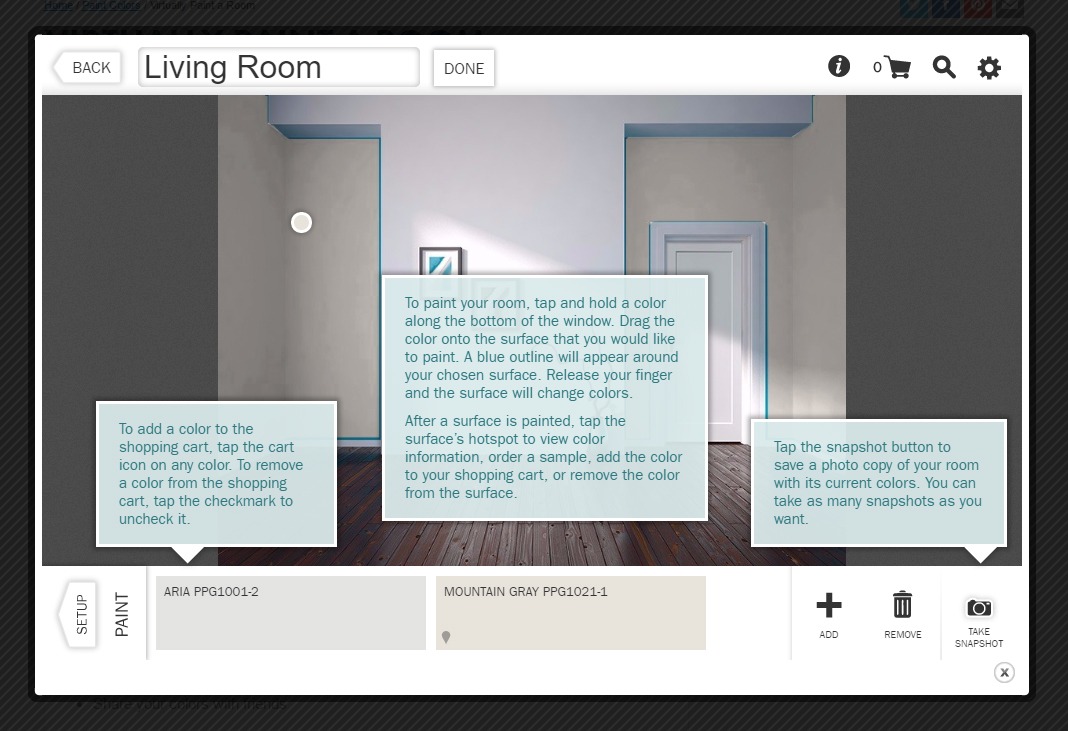
STEP 6 – virtual painting
Use the Tool Tips under the Information Icon to help you here. To add colour to a surface – click and drag a colour onto one of your numbered surfaces. Keep choosing different colours to get the desired look. Snapshot and save each version of your project for reference later on. You can even sample colours from other photos to use in your projects and find complementary colours simply by clicking a button! Play around a little and before you know it, you’ll be an expert virtual room painter!
Step 7 – shopping list
Add colours you like to your shopping list.