

In this how-to feature, we’re going to show you how easy it is to install Shantex Deck Tiles. This system is designed for DIY homeowner installation and as you’ll see from the videos below – installation really is a snap!
Shantex Deck Tiles can be installed on top of any existing surfaces such as wood decks, vinyl decks, fibreglass decks, torch-on roofs, concrete patios, swimming pool decks, garage flooring etc.
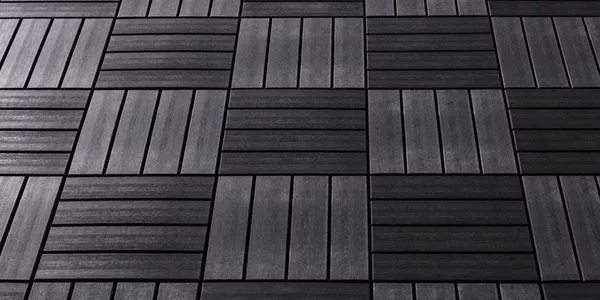
They are made from a material called WPC (wood plastic composite), which means while it looks like wood, it will last much longer, with an average lifespan of around 30 years. Not only that but because it is a composite Shantex will not deteriorate in extreme weather conditions and owners can, therefore, leave it out all winter/summer long.
As well as being a recycled product, Shantex is considered a low maintenance decking. It does not need to be coated, stained, painted or re-finished and cleaning is as simple as using mild detergent and water.
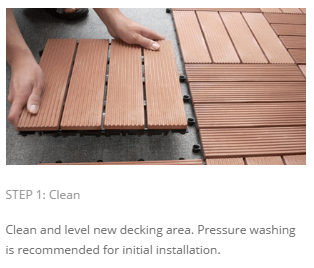
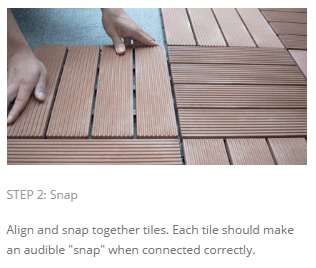
The decking tiles simply just interlock together, it is a D-I-Y product, no labour charges are needed, everyone can do it themselves. A whole deck can be done in less than an hour.
INSTALLATION VIDEO
PHOTO GALLERY
GET CREATIVE
INSTALLATION GALLERY
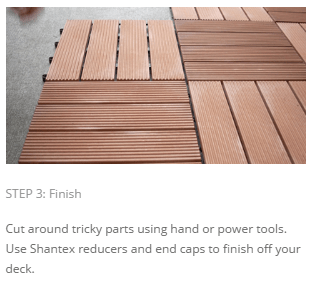
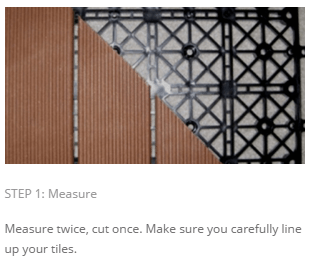
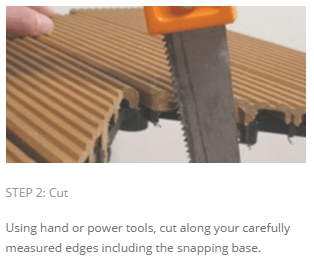
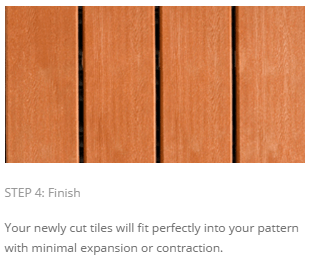
CUTTING SHANTEX (IN PICTURES)
WHAT IS WPC?
Wood-plastic composite is a material made by combining wood and plastic fibres to create a material that has the durability of plastic while maintaining the organic aesthetics of wood. The wood fibres help protect the plastic against UV damage, preventing warping and fading. While the plastic defends the wood against moisture damage, insects, rot and decay. Learn More
WHY SHANTEX?
Low Maintenance, money saving, easy to install. What more could you want? Check out all the reasons why you should choose Shantex Decking Tiles. Learn More