

One of first steps in any successful Do-it-Yourself project is ensuring that you have taken the correct measurements. This is perhaps one of the most daunting prospects for any inexperienced remodeller – in making sure you’ve accurately estimated how much materials you will need to complete the job. It is also an essential step in budgeting your project and can help you manage the financial aspect as well as help with time management. Incorrect measurements can sometimes mean lots of trips to and from the your Building Supplier, so getting a plan in place along with accurate measurements can save you time and money in the long run.
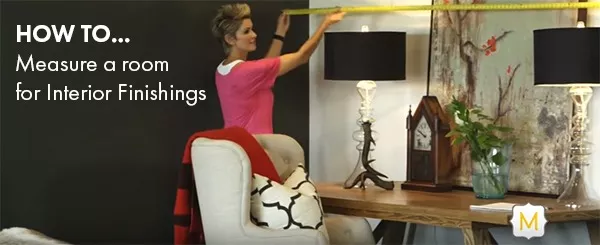
In partnership with Moulding & Millwork specialists Metrie, celebrity designer Amanda Forrest and contractor Geoff Hobson, from Hobson Woodworks Inc. [www.hobsonwoodworks.com], will show you how to accurately measure a room for interior finishings such as baseboard, trim, crown moulding, casing, architrave and interior doors.
As the old saying goes – measure twice to cut once!
Tools Required
- Tape Measure
- Pencil
- Notepad
- A friend! An extra set of hands always comes in handy
Step 1

Draw out a floor plan. Use it to visually record your layout and measurements.
Step 2

Measure the room. Pick a starting wall and work your way clockwise or counter-clockwise.
Step 3

Note any features on the drawing (floor plan) like windows or door openings
Contractor Tips
- Write down each measurement as you go. That way you won’t forget what’s you’ve measured.
- Make sure that your Measuring Tape is pulled tight and straight to ensure an accurate reading.
- Be thorough. If you’re not sure, measure twice to be safe.
- Factor in extra for mitred corners. This is especially true when installing finishings such as Crown Moulding.